
Installing Visual Studio Code on Windows
Visual Studio Code (VSCode or VSC) is a lightweight IDE (integrated development environment) that’s become a standard in the web development community for developing applications in a wide variety of languages and frameworks. The Angular web framework uses the TypeScript language and so is well suited for Visual Studio Code. You can, of course use another IDE of your choice, however this course is designed around using VSCode, so if you want to be able to follow along more easily, you might want to consider using it.
- Go to https://code.visualstudio.com/download and click the Windows download button to download the Visual Studio Code installer.
- Launch the installer either from your browser’s download area, or by opening File Explorer and going to the downloads folder.
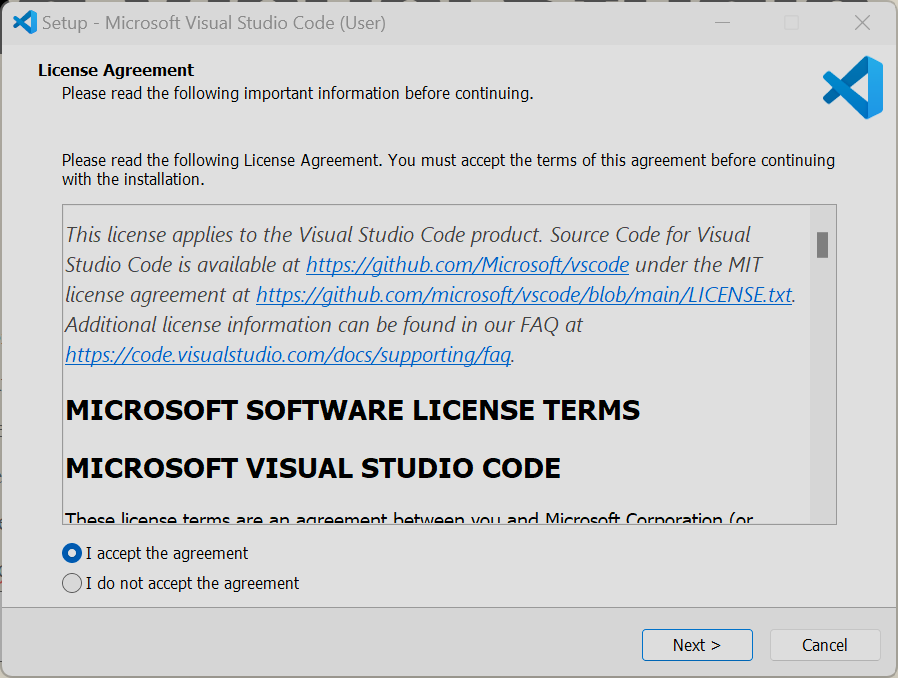
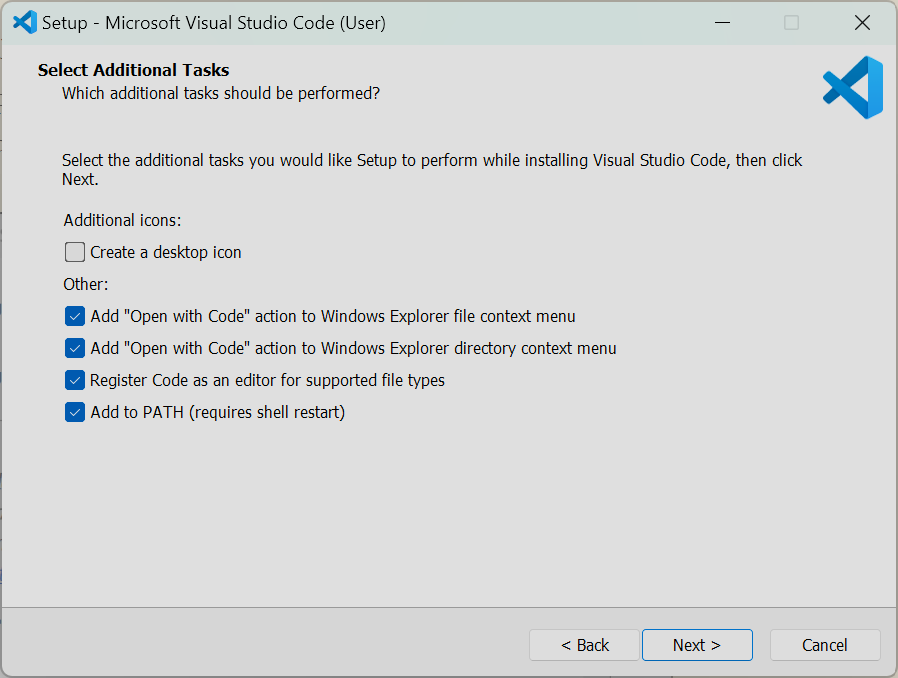
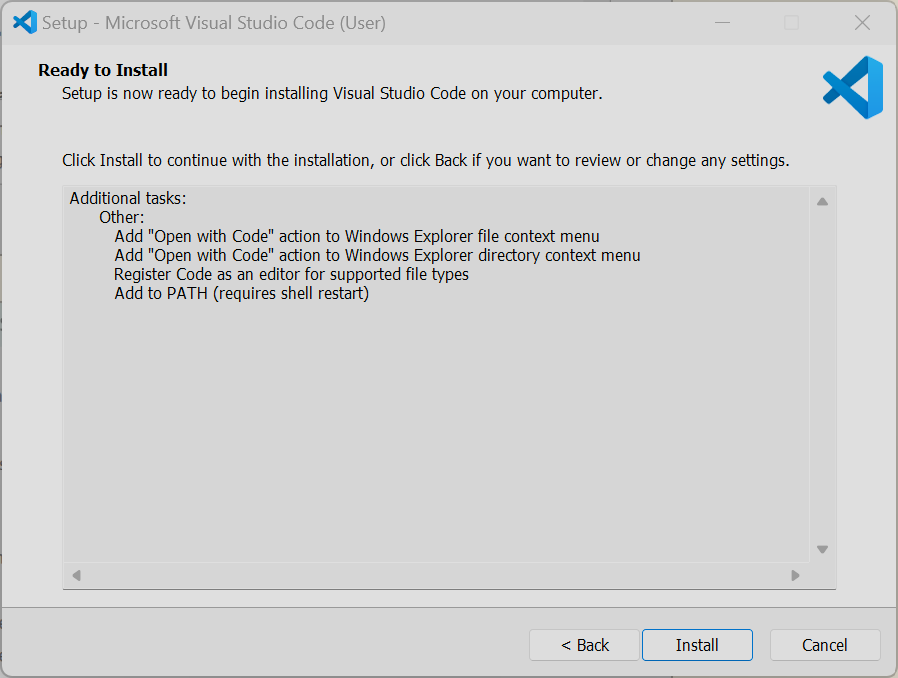
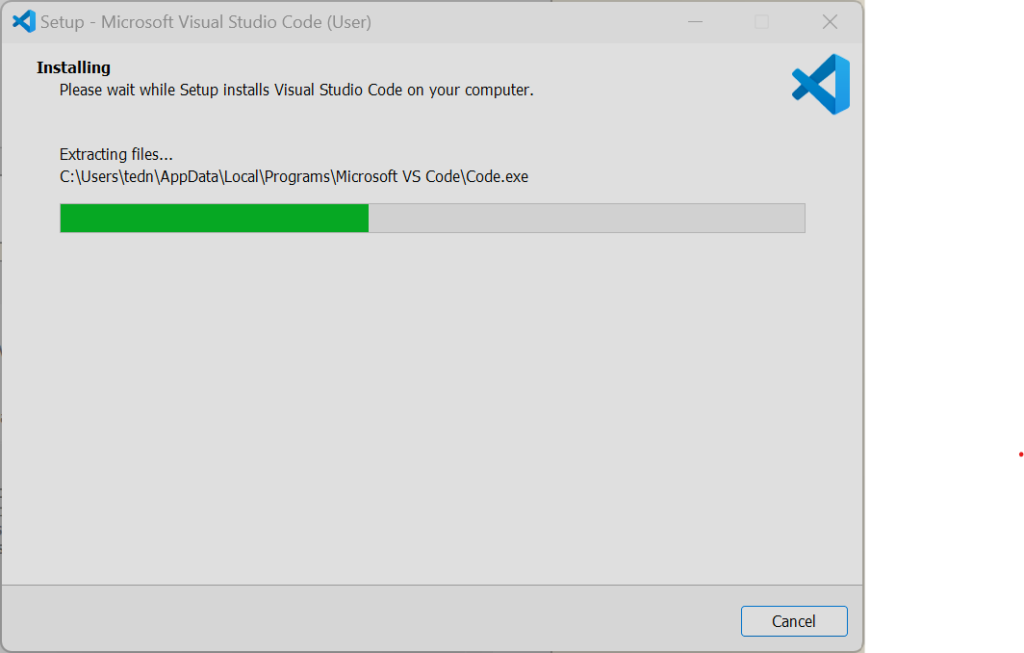
- Follow the instructions below to install and configure VSCode.
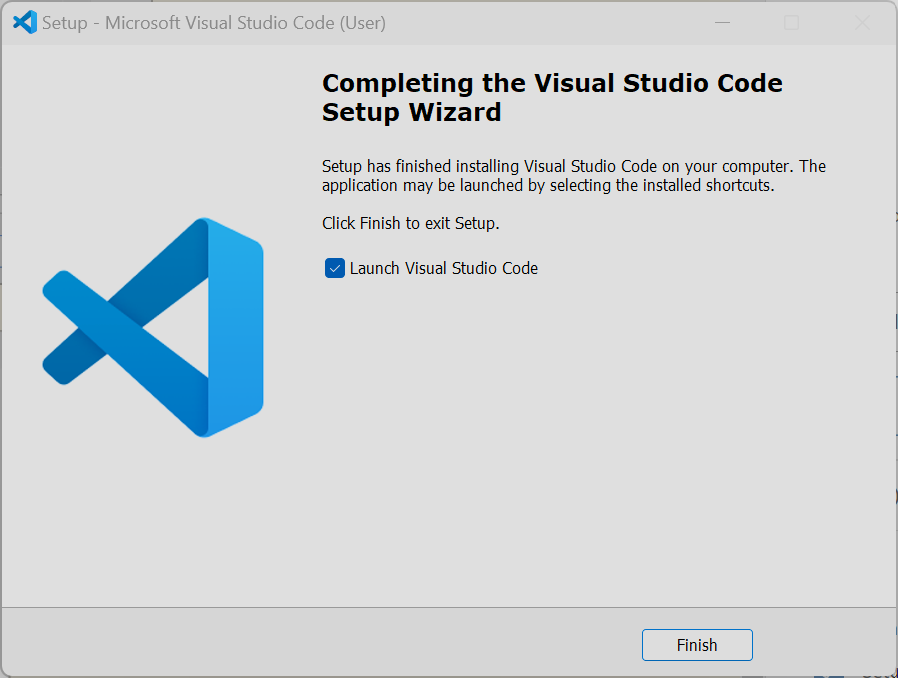
- The installer will automatically launch VSCode for you.
- You will be using VSCode a great deal, so you may want to consider right clicking on the VSCode icon (the blue icon shown in the previous screenshot) and click “Pin to Taskbar” so you can easily access it in the future.
- In VSCode, click “View/Terminal“
- In the terminal window type: “Set-ExecutionPolicy -Scope CurrentUser -ExecutionPolicy RemoteSigned” and hit ENTER. This will allow you to run npm binaries using powershell scripts, which are disabled by default, but for a development machine it is necessary to allow this execution policy.

- Once this has been completed, you will be able to use the terminal to execute Angular CLI commands to setup your project and create components (this will be covered in the first lesson).
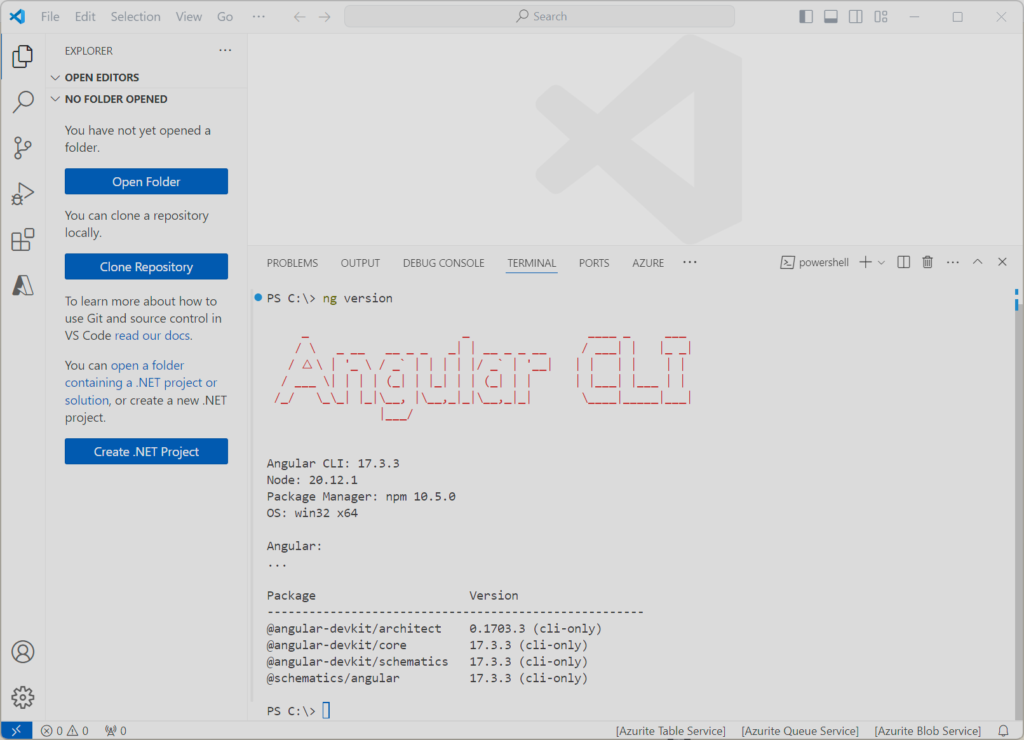
- Type “ng version” and hit ENTER inside the terminal window to ensure you are able to run the Angular CLI.
- Lastly, if you don’t already have a C:\Code folder on your machine, let’s go ahead and create one, as this is the folder where we’ll do our coding under.
- Type “cd c:\” and hit ENTER to switch to the root folder of the C: drive.
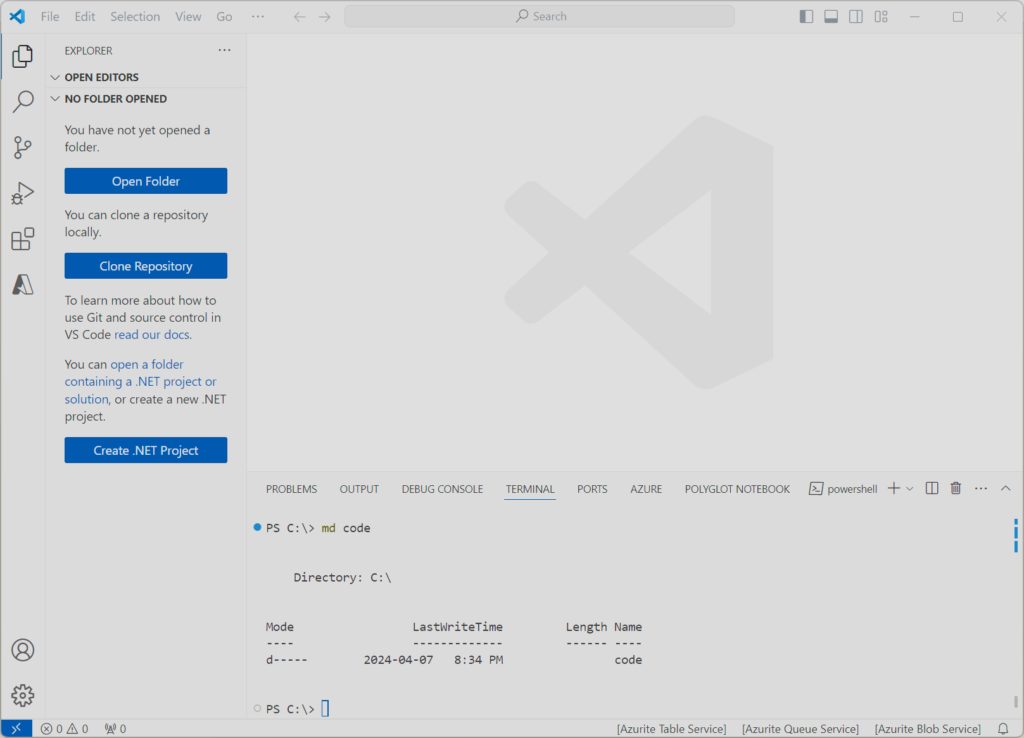
- Type “md code” and hit ENTER to create the new folder C:\Code
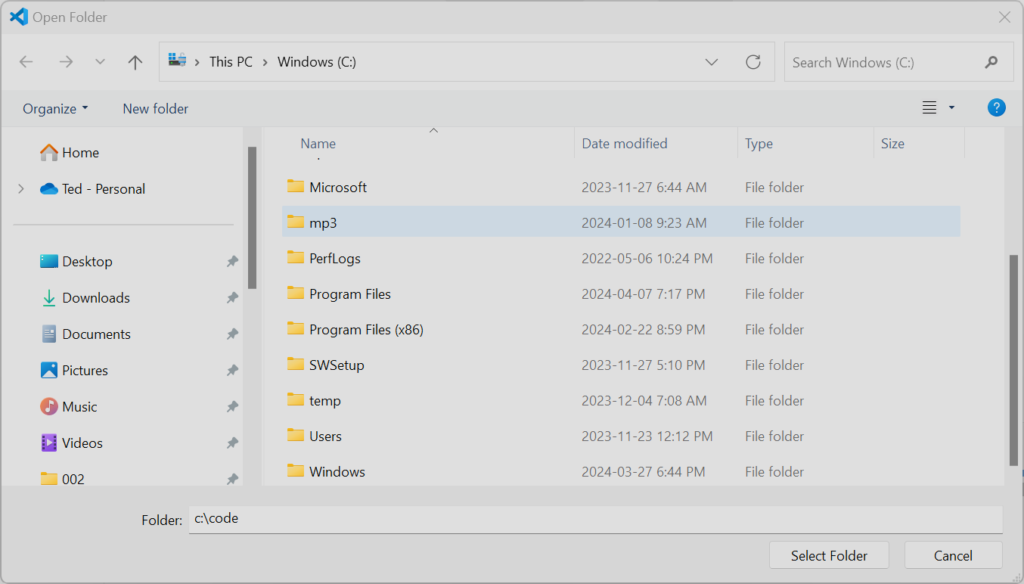
- Now click “File/Open Folder“
- Type “C:\Code” at the bottom and click the “Select Folder” button
- Visual Studio Code should refresh itself, and the terminal window will be gone.
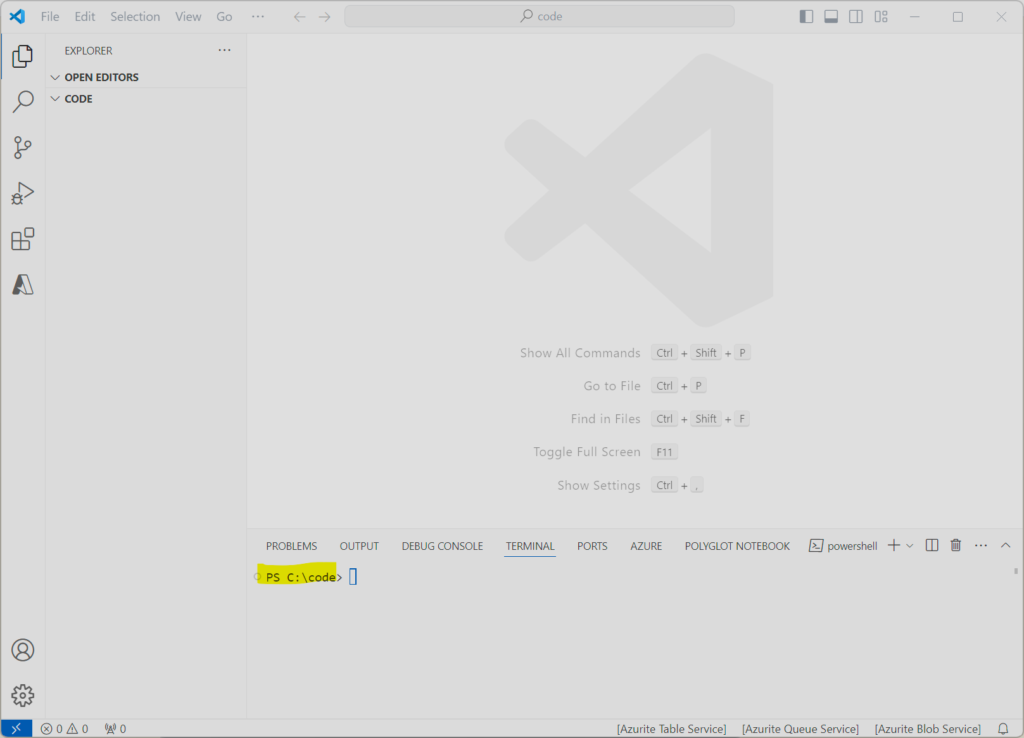
- Select “View/Terminal” to reopen the terminal window.
- The terminal window directory should now show “C:\Code” as the current directory (see screenshot).
- One final note here. Click here to learn about pinning/unpinning commonly used folders for quicker access.