
Taking a Closer Look at MyFirstAngularApp
Getting Ready
So as part of taking a closer look at MyFirstAngularApp, it’s important that we ensure the app is still running.
If by chance you closed VSCode or the terminal window after the previous lesson, it won’t be running. If this is the case, follow the next few steps to restart your app, and then process. If it is still running (you can check by going to the http://localhost:4200/ link and see if the application loads), you’re all set and can skip these few steps.
So to get things running again, do the following:
- Open the “MyFirstAngularApp” using the pinned menu item by right clicking the VSCode icon in the Taskbar and select it under the pinned section of the context menu.
- When VSCode opens the folder, the terminal window should appear, if not select “View/Terminal” to open it.
- The terminal is using powershell, which has some fairly nice features including command and action histories. You should notice that the terminal opens and shows “* History restored“. If you don’t see this its fine, it just means you likely have an older version of Windows, VSCode or powershell.
- The terminal will likely remember the last command you gave it (“ng serve” remember). You can check this out by hitting the up arrow key. If it does remember the command, you’ll see it displayed in the terminal and you can simply hit ENTER to start the application. If not, no worries, simply type “ng serve” and hit ENTER.
- After a few moments, you should once again see that the application is running and you can click on the URL to launch the browser.
Taking a Closer Look at the Folder Structure
Let’s start by looking at the folder structure and the files in the folder.
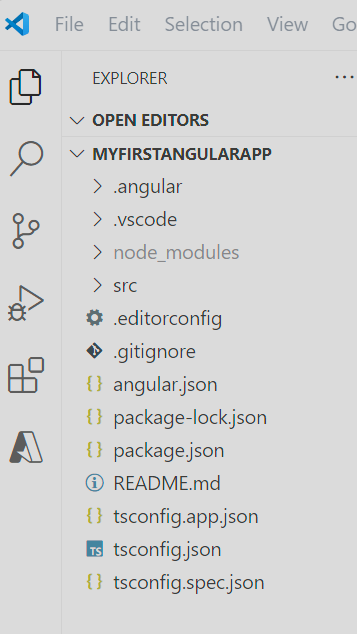
The only thing we’ll focus on in this fundamentals course is what’s in the “src” folder, everything else is out of scope, but if you want to learn more about them you can click here.
Breaking down the Source Code (src folder)
So let’s expand the “src” folder and look at it’s parts.
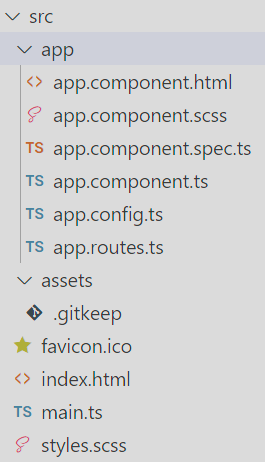
- app subfolder: this folder contains:
- AppComponent is our application component which is comprised of the following files, all of which we will go into detail in the next lesson:
- app.component.html the HTML5 for our AppComponent
- app.component.scss which is SCSS styling specific to this component
- app.component.spec.ts a unit test file
- app.component.ts typescript code file where logic for AppComponent lives
- app.config.ts is an application configuration typescript file for our application
- app.routes.ts routes are a more advanced topic that will be covered in a future lesson
- AppComponent is our application component which is comprised of the following files, all of which we will go into detail in the next lesson:
- assets subfolder: this folder holds files we might want to ship with our application such as images, fonts, etc. enough said
- .gitkeep is an advanced but simple GIT repository trick that developers use to push empty folders into the GIT repository, enough said here
- favicon.ico if you look at the tabs in your browser, you’ll notice that each tab has an icon in front of it. Our MyFirstAngularApp has one as well, and if you click on this file in the folder tree, you’ll see this image appear in VSCode. That’s what this image file is used for.
- index.html is the HTML5 webpage that gets served up when we hit the http://localhost:4200/ and it is how our Angular app gets into the browser, more on this in a moment
- main.ts is our first look at the Typescript programming language. This file contains a single line of code (aside from the import statements), that calls the method bootstrapApplication to get our application called AppComponent going
- styles.scss HTLM5 uses element, identifier and class styles to make our webpage and the components within it look a certain way (height, width, color, fonts, borders, margins, padding, etc.), and this file contains the styles in SCSS format, which gets compiled down to .CSS when we build the application, more on this later.
Understanding Hot Reload
At the beginning of this lesson we made sure that the application was running and the browser was able to load the Angular Application. Why did we do this? So you can learn about what Hot Reload is.
Basically Hot Reload means you can update the code, click SAVE, and immediately see the results in the browser without having to recompile or manually refresh anything.
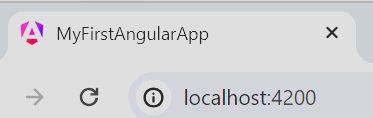
So let’s see how this works. Have a look a the application in the browser, it should look something like this:

Now open the app.component.html file in VSCode and look for “Hello, “. Change it to “Hello there!!! ” and click Ctrl+S to save like this:
From:
<h1>Hello, {{ title }}</h1>change to:
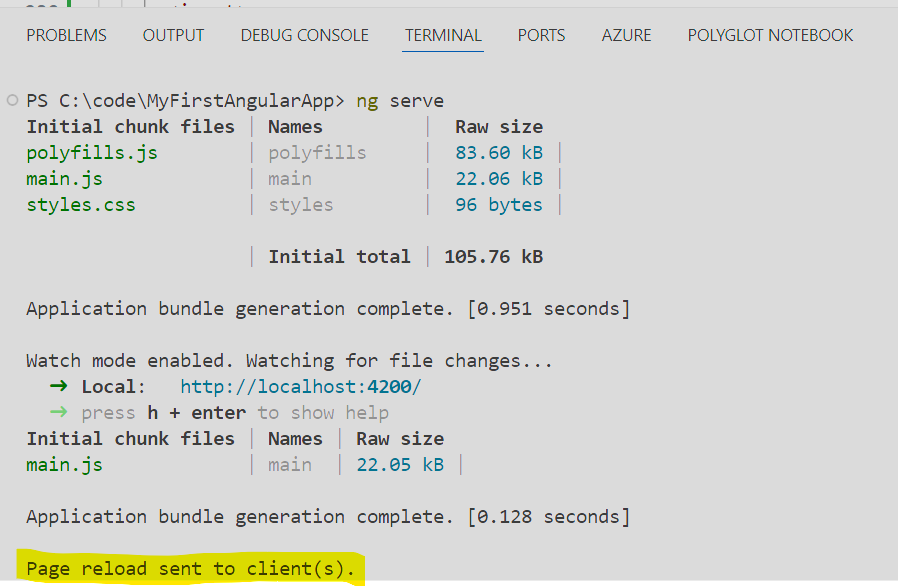
<h1>Hello there!!! {{ title }}</h1>As soon as you save your change, you should see the terminal in VSCode post a message saying that the “Page reload sent to client(s).”, which indicates that a Hot Reload was sent to the browser.
Now go back to the browser, and without having to do anything to the application in the browser it should now look like this:
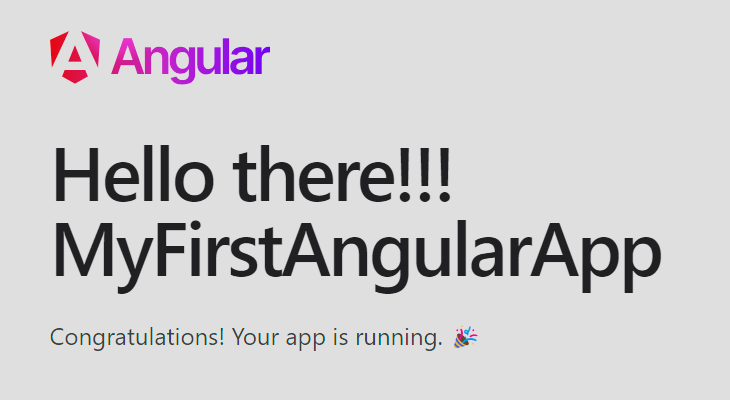
And there you have it! It’s important to understand that the hot reload will detect changes and reload the application for you if any .html, .less, .css, .scss, .js and .ts files you may have in your project are updated.
You may encounter some cases where hot reload doesn’t detect the change(s) you make. In that case you can just refresh your browser.
If none of the above catches the change, hit Ctrl+C in the terminal window to stop “ng serve” and re-run “ng-serve” to recompile and rerun the application, then reload/refresh your application in the browser.