
Understanding how the AppComponent works
In angular, visual objects are referred to as Components. Each component is made up of 4 files, in our case the component name is AppComponent so the word “app” appears at the beginning of each file:
- HTML FILE: app.component.html
- STYLE FILE: app.component.scss (or .less or .css depending on how the project is setup)
- TEST FILE: app.component.spec.ts
- CODE FILE: app.component.ts
The visual portion of the component is contained in the HTML FILE “app.component.html” and consists of a snippet of HTML5 and/or other Angular Components.
The STYLE FILE, which ends in .scss, .less or .css is the styling file, and is applied to the HTML file in the browser. We will talk about class styling in detail in another lesson.
The TEST FILE is a KARMA unit test file. Unit testing is outside the scope of the fundamentals course, so we won’t be doing anything with this file for now.
The CODE FILE is where we’ll put all TypeScript code for our component.
Component Parts
So let’s start by looking at our code file “app.component.ts“:
import { Component } from '@angular/core';
import { RouterOutlet } from '@angular/router';

@Component({
  selector: 'app-root',
  standalone: true,
  imports: [RouterOutlet],
  templateUrl: './app.component.html',
  styleUrl: './app.component.scss'
})
export class AppComponent {
  title = 'MyFirstAngularApp';
}
The default generated code file contains 3 parts:
The first two lines have import statements that bring in other components/classes/services, etc. that we can use. In this case it imports the Component from @angular/core so we can “decorate” our class and tell Angular it’s a component and imports RouterOutlet from @angular/router which we’ll use inside our decorator.
import { Component } from '@angular/core';
import { RouterOutlet } from '@angular/router';
Next is the @Component decorator that tells Angular about our component.
@Component({
  selector: 'app-root',
  standalone: true,
  imports: [RouterOutlet],
  templateUrl: './app.component.html',
  styleUrl: './app.component.scss'
})
The decorator includes templateUrl, which tells Angular that app.component.html is our HTML file, and likewise styleUrl tells Angular that app.component.scss is our class styling file.
Now notice the selector definition, it’s called ‘app-root’. The selector is the name we’ll use to reference our component inside other component HTML files, or the index.html file. Remember in the previous lesson it was mentioned that index.html is the file that gets served up to the browser, well let’s take a quick look at it:
<!doctype html>
<html lang="en">
<head>
  <meta charset="utf-8">
  <title>MyFirstAngularApp</title>
  <base href="/">
  <meta name="viewport" content="width=device-width, initial-scale=1">
  <link rel="icon" type="image/x-icon" href="favicon.ico">
</head>
<body>
  <app-root></app-root>
</body>
</html>
Notice the HTML element “<app-root></app-root>“? So this isn’t actually an HTML element, it’s a CUSTOM angular HTML element. It matches the name of our selector in app.component.ts. So now Angular know when it encounters the <app-root> element, it will create and instance of our AppComponent, run the app.component.ts code and insert the contents of app.component.html where the <app-root> element is. In a moment, we’ll make some changes to our component and see a demonstration of how this works.
Now back to our app.component.ts file. The last part of this file is the class definition itself:
export class AppComponent {
  title = 'MyFirstAngularApp';
}
The class is really simple right now. The only thing it does is define a variable called “title” and assigns it the name of our app.
Component HTML File
In the previous lesson we modified the app.component.html file to demonstrate how hot reload works. Let’s look a bit closer at the app.component.html file now. Unfortunately the .html file is fairly large because there’s a lot of unnecessary stuff in there, so you’ll have to hunt around a bit to find the chunk of code we’re interested in:
...
</svg>
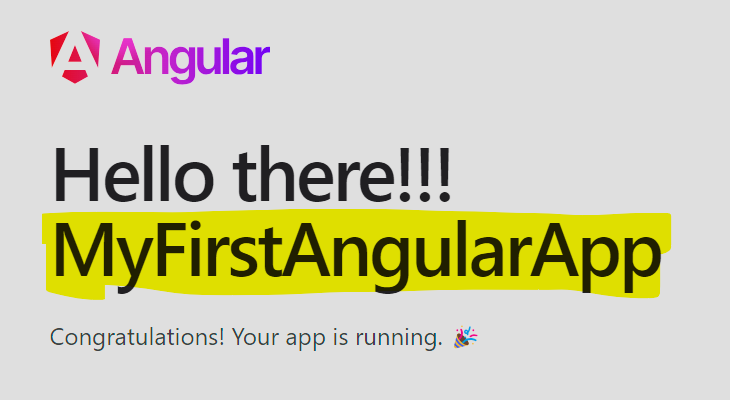
<h1>Hello there!!! {{ title }}</h1>
<p>Congratulations! Your app is running. 🎉</p>
</div>
...Notice the {{ title }} code? When Angular encounters double curly braces inside HTML {{ }} it executes whatever is inside the curly braces. In this case it’s just the name of the title variable defined inside the AppComponent class. So Angular will replace “{{ title }}” with “MyFirstAngularApp“.
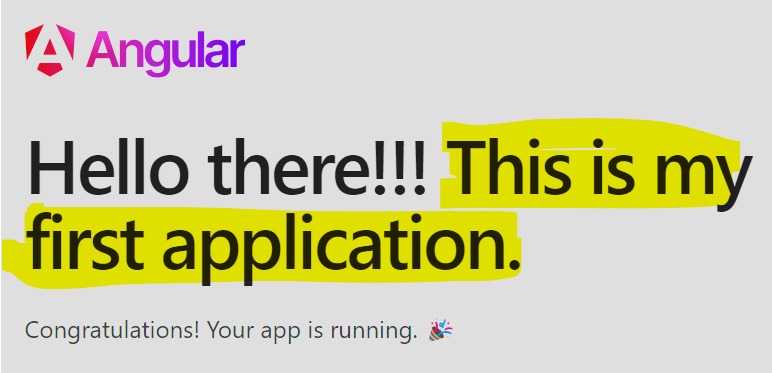
Try changing the value of title in the app.component.ts file as follows and save it (make sure the application is running with “ng serve” so that hot reload happens):
export class AppComponent {
  title = 'This is my first application.';
}
It should now look like this in the browser:
A Closer Look at How the Selector <app-root> Works
So in order to see how the <app-root> selector works, we’re going to first simplify our app.component.html file so it’s easier to look at what Angular substitutes for the <app-root></app-root> element in the index.html file.
Open the app.component.html file, press CTLR+A and then press DEL to delete the entire contents of this file.
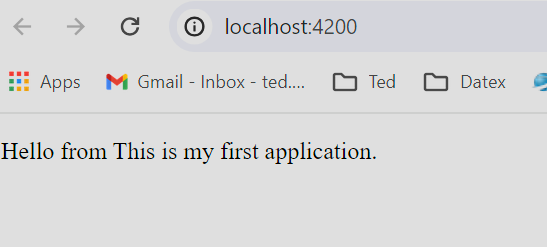
Now put the following inside app.component.html, and save the file:
<P>HELLO FROM {{title}}</P>After hot reload updates the app, you should see the following in the browser:
Now press Ctrl+Shift+I in the browser to open the developer tools. Select the “Elements” tab and expand the <app-root> element in the HTML tree. It should look something like this:
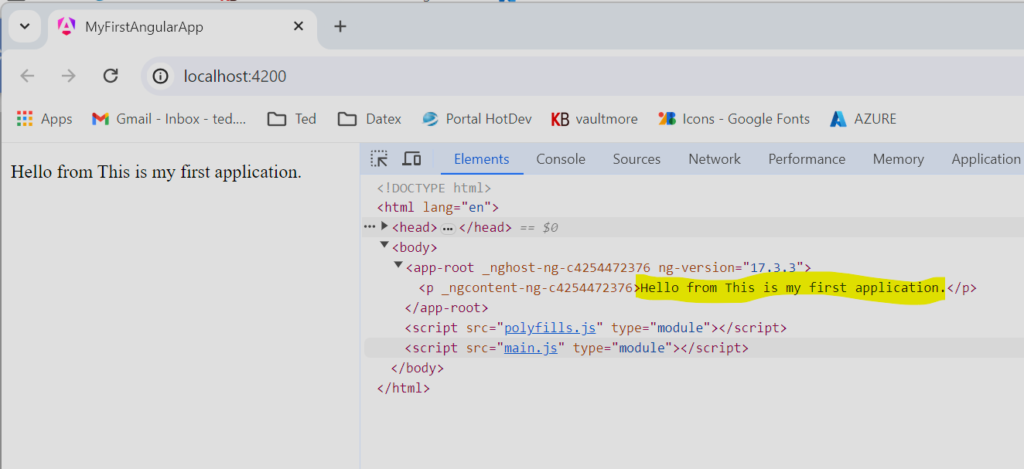
So Angular replaced <app-root></app-root> with the HTML inside app.component.html after running {{ title }}. As you can see, there’s also some other stuff in there that Angular adds.
There you have it, now you have a better understanding of how the AppComponent gets injected into the index.html.