
Creating Your First Component
So now that you understand what a component is and how to use it, let’s go ahead and create our first component and add the selector as an HTML element inside the AppComponent html file.
The Angular CLI includes a way to generate a new component for you, including all of the files you need based on the project settings. So let’s do that first. We’re going to call our new component InfoComponent.
Generating the InfoComponent
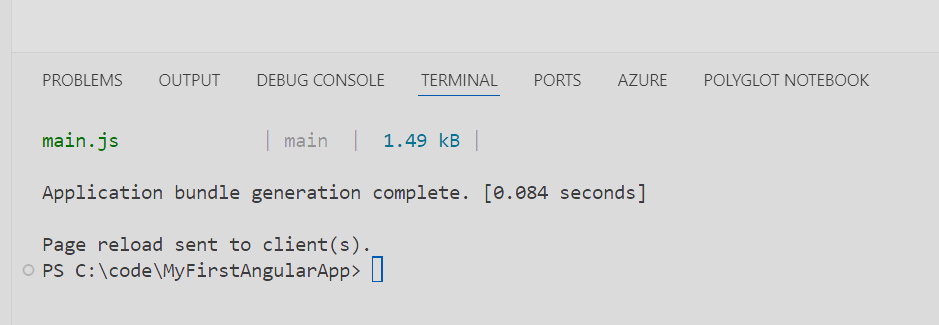
Let’s go to the terminal window in VSCode and stop the application by clicking Ctrl+C.
Type the following to generate our component:
ng generate component info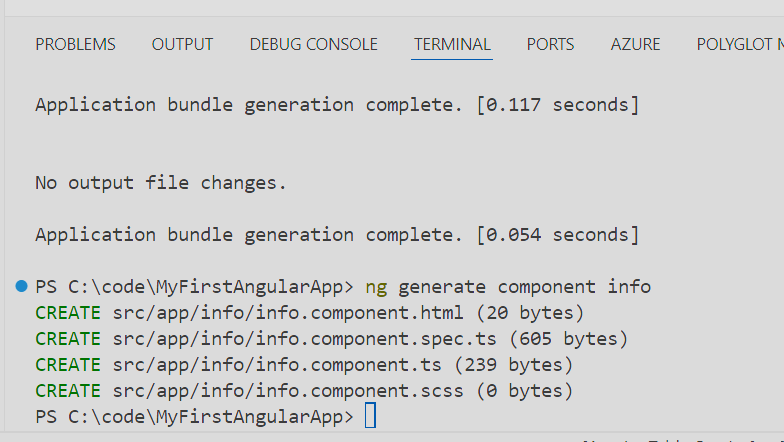
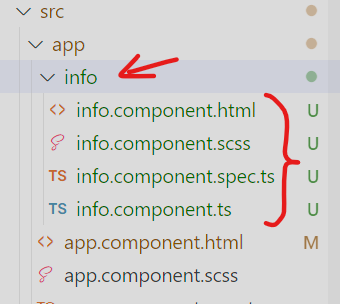
As you can see, our new InfoComponent is generated inside the folder structure src/app in it’s own info subfolder.
Restarting the Application
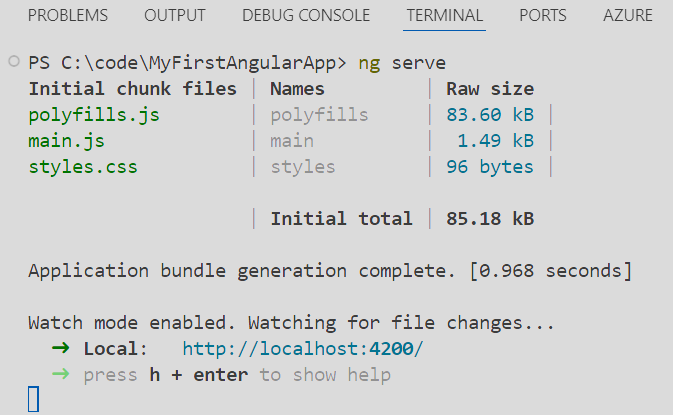
Before we continue on, in the terminal window, restart the application by typing: “ng serve” and then either reopen or refresh the application in the browser.
Using InfoComponent
If we open the info.component.html file you can see that there’s some very simple HTML inside this file.
<p>info works!</p>Likewise if we open the info.component.ts file, it just contains a simple definition for InfoComponent, similar to AppComponent, with a selector called “app-info”.
import { Component } from '@angular/core';

@Component({
  selector: 'app-info',
  standalone: true,
  imports: [],
  templateUrl: './info.component.html',
  styleUrl: './info.component.scss'
})
export class InfoComponent {

}
Before we can add the new app-info selector to the app.component.html file, we need to tell AppComponent about our new InfoComponent. This is quite easy, we just need to add an import to the app.component.ts file as follows:
Add the following line to app.component.ts and save it:
import { InfoComponent } from "./info/info.component";imports: [RouterOutlet, InfoComponent]The code should now look like this:
import { Component } from '@angular/core';
import { RouterOutlet } from '@angular/router';
import { InfoComponent } from "./info/info.component";

@Component({
    selector: 'app-root',
    standalone: true,
    templateUrl: './app.component.html',
    styleUrl: './app.component.scss',
    imports: [RouterOutlet, InfoComponent]
})
export class AppComponent {
  title = 'This is my first application.';
}
There’s only one more step we need to do to make this work…
Here’s your first code challenge in this course, and yes, you’ll get lots of these throughout the course. Each code challenge includes the challenge, and a collapsed solution below it that you can expand AFTER you try the challenge yourself, to verify what you’ve just learned.
Code Challenge
How would you go about adding this new app-info selector to AppComponent HTML file app.component.html so that when we save the file and hot reload, that we see the following (hint, you only need to add one line):
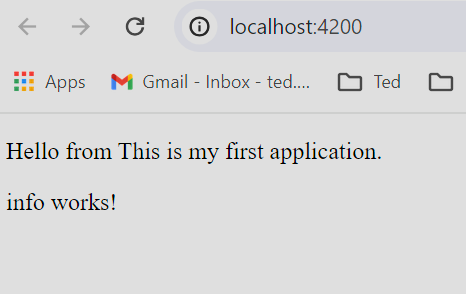
Solution
Add <app-info></app-info> to the end of app.component.html so it looks like this and save it:
<P>Hello from {{title}}</P>
<app-info></app-info>
Congratulations! You’ve just successfully created your first Angular component.